
Tin Ceilings
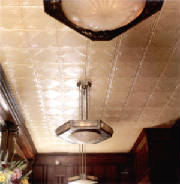
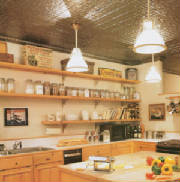
Centura™ Tin Stamped Ceilings are the perfect look for a variety of applications from home kitchens to elegant ballrooms. Panels are made from decorative embossed metal and come in a variety of patterns and finishes. Centura™ further offers versatility through their nail-up installation eliminating the need for standard ceiling grid.
Tin Ceilings Available Finishes
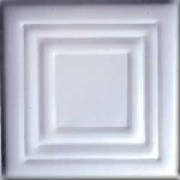
White
Unfinished
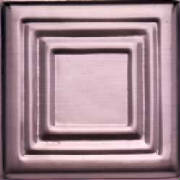
Copper

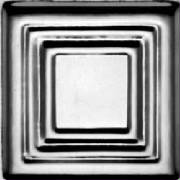
Chrome
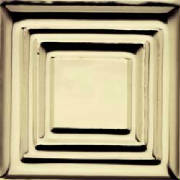
Brass
Photo Gallery


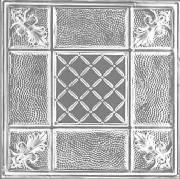
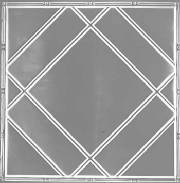
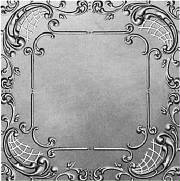
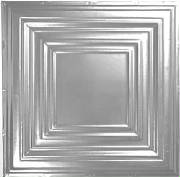
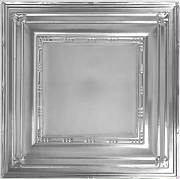
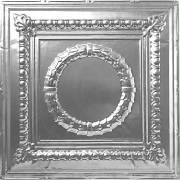
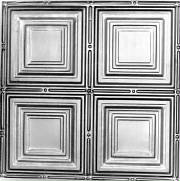
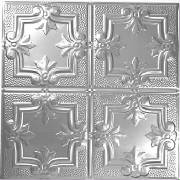
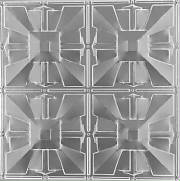
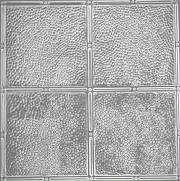
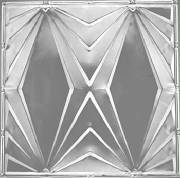
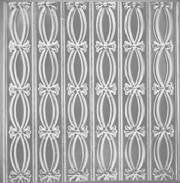
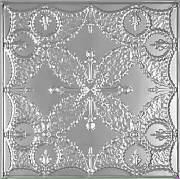
Tin Ceilings Available Patterns
C523
C517
C515

C510

C509

C507
C505
C504
C503
C320
C321
C314
C310

C309

C307

C303
C215

C234

C210
C209
C207
C204

C205

C200
C5000
C606
C535
The Tin Ceiling patterns are available in 2′ x 4′ and 2′ x 8′ for nail-up applications and 2′ x 2′ and 2′ x 4′ for lay-in applications. In addition, all Patterns can be perforated for acoustical purposes.
| Size | Finish | Price/Panel |
| 2′ x 2′ Lay In | Unfinished | $16 |
| 2′ x 2′ Lay In | Brass, Chrome, or Copper | $32 |
| 2′ x 2′ Lay In | White | $22 |
| 2′ x 4′ Lay In or Nail Up | Unfinished | $32 |
| 2′ x 4′ Lay In or Nail Up | Brass, Chrome, or Copper | $64 |
| 2′ x 4′ Lay In or Nail Up | White | $44 |
Tin Ceilings Features & Benefits
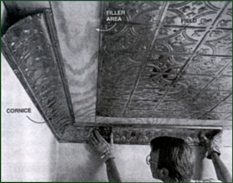
Tin Ceilings Installation Instructions

Clean the metal sheets with denatured alcohol and wipe them dry before installation (steel only). The prepainted white, chrome, copper plated, brass plated and stainless steel all have a PVC film that should be removed before or during installation. Heavy leather gloves should be worn when handling and installing metal. The edges are very sharp.
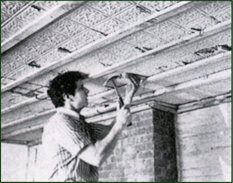
To begin: Nail furring strips to the ceiling around the perimeter of the room 1-1/2″ from the walls, using resin-coated nails. Locate the center of the ceiling and bisect it by snapping a chalk line at right angles to the ceiling beams. This insures that the ceiling panels will be nailed into the beams. Working out from this line, snap chalk lines at 24″ intervals. Place the edge of a furring strip along each line and nail it to the ceiling. Repeat the process, nailing new furring strips at 12″ intervals. Level the ceiling, raising low areas by inserting shims between the furring strips and the ceiling or install 3/8″ plywood.
Install Plywood: As an alternative, you can install 3/8″ plywood or comparable material across the entire ceiling. Tin ceiling panels are held in place with special cone head finish nails, which have to be driven into wood; drywall or plaster will not do.
Find the ceiling’s center: Tin panels are installed starting from the center and working out. To find center, stretch a chalk line between opposite corners of the ceiling and snap a line on the plywood or furring strips. Do the same with the other corners. The lines cross at the center of the ceiling. Now snap a line through this center point parallel with the room’s longest wall. This is the baseline for the length of the room. Finish by snapping another line through the center point that is 90 degrees to the first baseline.
Plan the layout: The ideal layout should be “balanced” so that the panels that meet one wall are the same size as the panels touching the opposite wall. To find where the center piece will land, work out how many panels will fit along the baselines. Be sure to account for the overlap, typically 3/8″. Then adjust the center panel’s position to create the desirable balance along the ceiling perimeter.
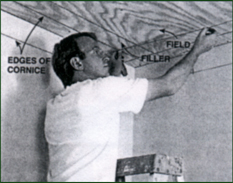
Orient the edges: Because the panels overlap, most will have exposed edges. Installing the panels so the edges face away from a room’s main doorway will make them less noticeable.
Close the seams: Tighten up any open seams by tapping against the overlapping edge with a hammer and soft pine block (above).
Coat the metal with any color oil based paint: Unfinished steel will rust if it is not protected from humidity. For best results use clear gloss enamel or aluminum paint by Rustoleum.
The sheets have small dimples along the edges called beads. You line up the sheets by overlapping these beads (like a ball and socket). Nail the sheets on the bead every 6″. The exception to this is when you are joining sheets; use a flat head nail to one side of the bead to allow the overlapping sheet to be nailed on the bead. Nail down the center length of the sheet every 12″ before nailing the edges.