Grid Tight Direct Mount Ceiling Grid
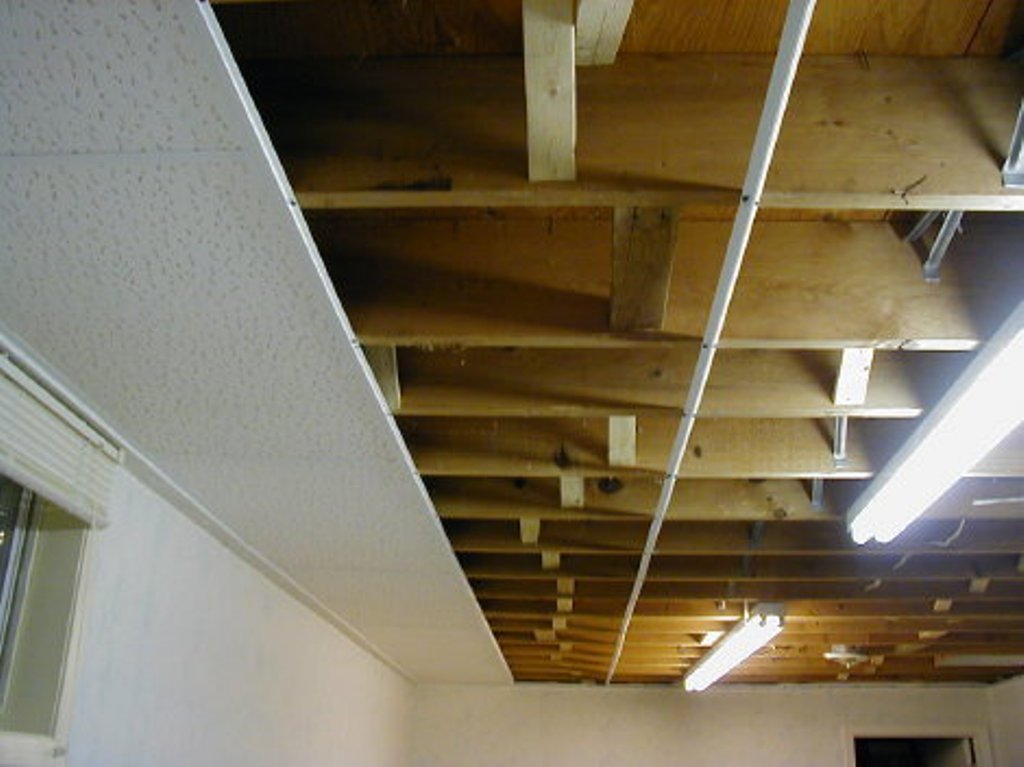
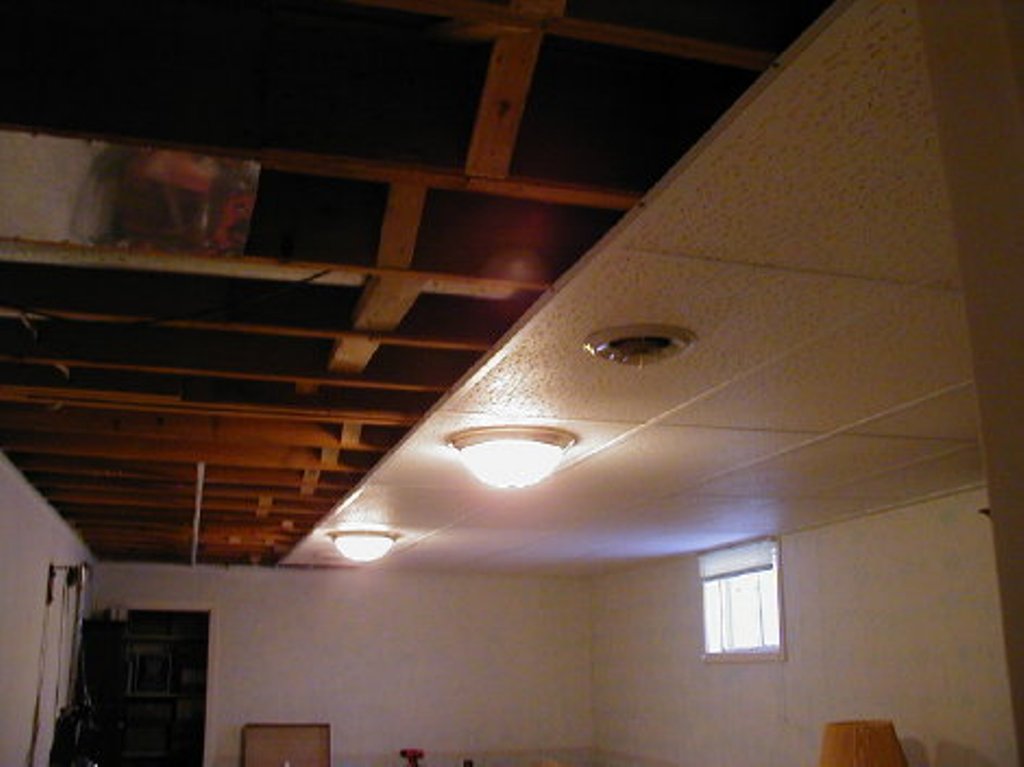
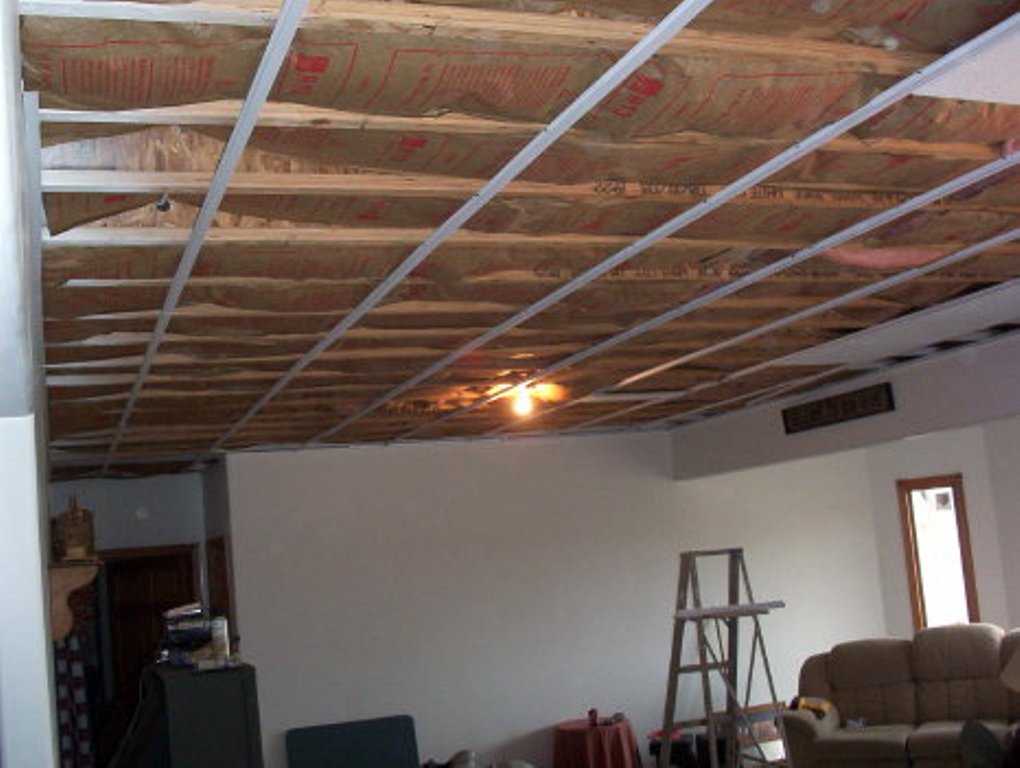
Grid Tight is a PVC plastic profile designed for use as the top track, bottom runner, and cross tee in a direct mount ceiling panel installation. It is made in the USA of the same strong and durable material that is used in the framing of replacement windows, and in residential plumbing systems. With Grid Tight you can have a durable and secure paneled ceiling without installing drywall or a suspended ceiling. In addition, you can replace or remove ceiling panels when they are damaged or access to the space above the tiles. Grid Tight is a direct-mount ceiling grid system – not a suspended system hung by wires.
| Item | Price |
| 8′ Top Hanger | $6.35 |
| 8′ Runner | $5.20 |
| 8′ Wall Bracket | $3.35 |
| 2′ Cross Tee | $1.35 |
Contact Us For Bulk Pricing
Available Finishes
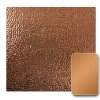
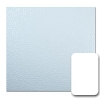
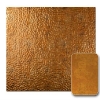

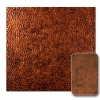
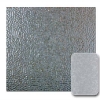

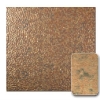
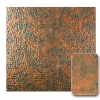
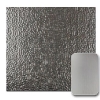
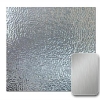


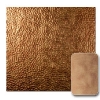
Due to the differences in screens, resolutions, lighting situations and characteristics of some of our finishes, the colors shown here are representations of the color and may not be 100% accurate. These swatches should be considered a guide. For true representation please order a sample.
Grid Tight Installation Instructions
In general, install the perimeter pieces first, so that the bottom horizontal surface is 1-inch below the joists or furring that the Grid Tight top track will be attached to. Butt the perimeter pieces together to span lengths greater than 8-feet. For corners, you can either butt the perimeter pieces together or cut 45º angles depending on your tools. Getting 45º angles to fit together neatly can sometimes be tricky, so butting the pieces together is OK. On outside butted corners, you’ll need to nip away a part of the vertical perimeter piece that extends beyond the corner. Hand cutters, such as the anvil cutters that we recommend using (available in the garden department of building supply stores), will make a clean cut.
You can use 1×1 blocking or 1×2 furring to provide a vertical mounting surface for the perimeter if your walls are difficult to attach to (concrete or concrete blocks, for example) or if you have an opening like a stairwell into the ceiling area. You can use Grid Tight top track and bottom runner as a wall perimeter. Keep in mind that using Grid Tight this way is not as economical as using the perimeter pieces.
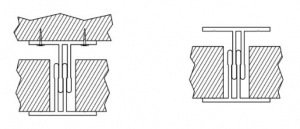
Plan on centering full rows of ceiling panels in order to figure out the width of the border panels on either side. To minimize distortion, don’t over-tighten screws when fastening perimeter pieces or Grid Tight top track. When measuring or marking (with chalkline, laser or tight string) for the 24 1/8-inch centers for the top track, measure from edge to edge (i.e. left edge to left edge, or right to right–not left to right) and align the top track to that edge instead of trying to infer the center. The top track does not have to be installed perfectly straight because the bottom runner corrects minor vertical & horizontal variances in the top track. Install bottom runners so that the butt joint between two lengths overlaps the top track joints.
We recommend using 1-inch drywall screws to attach the top track of Grid Tight to joists or furring. The slight indentation, about 1/8″ from the outside edges of the top track, is where to start the tip of the drywall screw. A little pressure will force the screw thru the plastic; it is not necessary to tighten the screw all the way down, as doing this will deform the plastic. Install screws on 16″ centers on opposite sides of the top track. Some users put screws on both sides, but this is not necessary.
After installing two adjoining rows of top track & bottom runner, slide a row of panels in from one end to see how they fit. Cross tees (23 3/4-inch) are cut from the same material as the top tracks/bottom runners and act as spacers between panels. You can use hand cutters (anvil cutters) or a chop saw to cut cross tees. A small putty or spackle knife can help “shoehorn” the last panel into place. If necessary, you can trim the last panel so that only ¼-inch rests on the perimeter piece.
Don’t forget the common sense advice to measure twice and cut once.
Ductwork and other utilities are usually covered with soffits (drywall box-arounds). You can get below some utilities by installing 1×2 or 2×2 furring to existing joints or beams and attaching Grid Tight to the furring.
Although Grid Tight is not designed to make soffits, a few of our more creative customers have done this by using lattice, clear furring, and blocking as mount points on the inner and outer corners. You can also use paneling or beadboard on the vertical portion and Grid Tight on the bottom horizontal part.
If you are planning to attach Grid Tight directly to ductwork (using self-tapping sheet metal screws, for example), we recommend that the support system for the ductwork be secured using drywall screws if it is currently secured with nails.